How to Season a Blackstone Griddle
Introduction
Owning a Blackstone griddle is a great way to expand your outdoor cooking options. From breakfast staples like pancakes and bacon to perfectly seared steaks and vegetables, the Blackstone griddle offers versatility that can elevate your meals. However, to get the best performance out of your griddle, it’s essential to properly season it before using it for the first time and maintain the seasoning over time.
Seasoning your griddle creates a protective, non-stick layer that prevents rust, improves cooking performance, and enhances the flavors of your food. In this guide, we’ll walk you through the step-by-step process of seasoning your Blackstone griddle to ensure it’s well-protected and ready for action.
Why is Seasoning Important?
Before diving into the steps, let’s briefly explain why seasoning is so important for your Blackstone griddle. Seasoning is essentially the process of coating the surface of your griddle with a thin layer of oil and heating it to bond the oil to the metal. This creates a protective layer that:
- Prevents rust: The oil coating protects the metal from moisture, helping to prevent rust from forming.
- Improves non-stick performance: A well-seasoned griddle provides a naturally non-stick surface, making cooking and cleanup easier.
- Enhances flavor: As the seasoning builds up over time, it adds a subtle flavor to your food that enhances the overall taste.
Now that you understand the importance of seasoning, let’s move on to the process of how to season your Blackstone griddle.
What You’ll Need
To properly season your Blackstone griddle, you’ll need the following items:
- High-smoke-point oil: Examples include flaxseed oil, canola oil, vegetable oil, or grapeseed oil. These oils are ideal for seasoning because they can withstand high temperatures without breaking down.
- Paper towels or a cloth: You’ll use these to spread the oil evenly across the griddle surface.
- Tongs: To hold the paper towels or cloth while the griddle is hot.
- Water: To clean the griddle before seasoning.
Step-by-Step Guide to Seasoning Your Blackstone Griddle
Step 1: Clean the Griddle Surface
Before seasoning your Blackstone griddle for the first time, it’s important to clean it thoroughly. Here’s how:
- Wipe down the griddle: Use a damp cloth or paper towels to remove any dust, debris, or packaging residue from the surface.
- Scrub with water: If the griddle is particularly dirty, use a little bit of water and soap to scrub the surface clean. Once done, rinse off the soap with clean water and dry the griddle completely. This is the only time you should use soap on your griddle, as soap can strip away the seasoning.
- Dry thoroughly: Ensure that the griddle is completely dry before moving to the next step. Any remaining moisture can interfere with the seasoning process.
Step 2: Heat the Griddle
Once your griddle is clean and dry, it’s time to heat it up:
- Turn on the burners: Light your Blackstone griddle and set the burners to high heat. Allow the griddle to heat up for about 10-15 minutes. You’ll notice the surface changing color, which indicates that the metal is getting hot enough for seasoning.
- Wait for it to darken: As the griddle heats up, it will start to darken in some areas, which is normal. This means the metal is preparing to bond with the oil during the seasoning process.
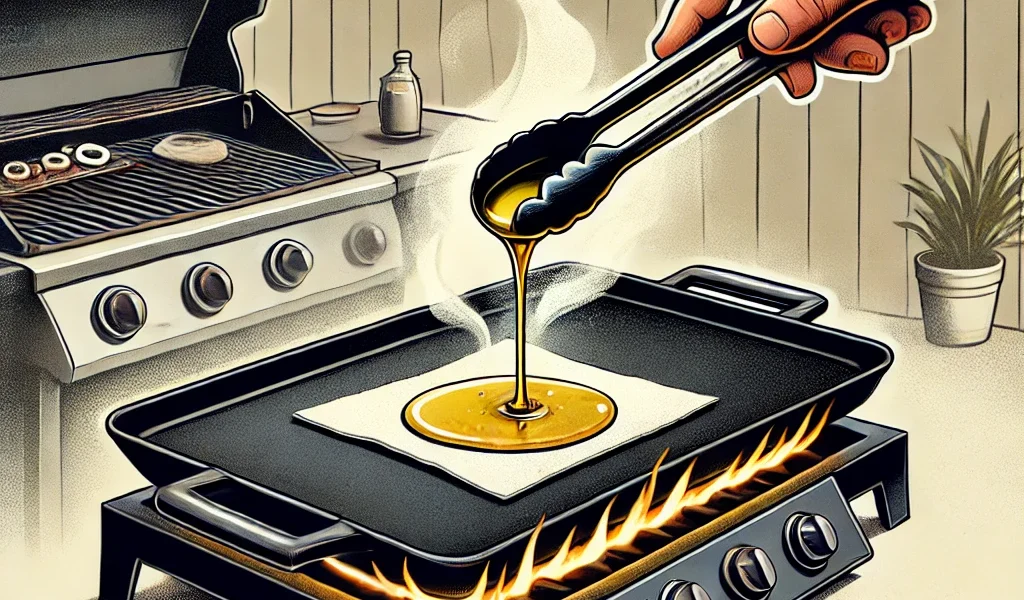
Step 3: Apply the Oil
Now that your griddle is hot, it’s time to apply a thin layer of oil:
- Add a small amount of oil: Pour a small amount (around 1-2 tablespoons) of your chosen oil onto the griddle’s surface.
- Spread the oil: Use a pair of tongs and a paper towel or cloth to spread the oil evenly across the entire surface of the griddle. Make sure to coat the entire cooking area, including the edges and corners.
- Thin layer: You want a thin layer of oil on the surface, not a puddle. If you accidentally add too much oil, simply wipe away the excess with the paper towel.
Step 4: Let the Oil Smoke
Once you’ve applied the oil, it’s time to let the heat do its job:
- Wait for the oil to smoke: Keep the burners on high and allow the oil to heat until it begins to smoke. This is called the “smoke point,” and it’s the temperature at which the oil starts to bond with the metal to create the seasoning layer.
- Let it smoke: Once the oil starts smoking, let it continue for about 10-15 minutes until the smoking stops. This process allows the oil to polymerize and bond with the griddle’s surface.
- Turn off the heat: After the smoking has stopped, turn off the burners and let the griddle cool down slightly.
Step 5: Repeat the Process
For a durable and effective seasoning layer, it’s best to repeat the oiling and heating process 2-3 more times. Here’s how:
- Apply another layer of oil: Once the griddle has cooled slightly, apply another thin layer of oil and spread it evenly across the surface.
- Heat and smoke: Turn the burners back on, heat the griddle, and let the oil reach its smoke point again.
- Repeat: After the smoking has stopped, turn off the burners and let the griddle cool. Repeat this process for a total of 3-4 layers of seasoning.
Step 6: Final Cooling and Maintenance
After you’ve applied multiple layers of seasoning, your Blackstone griddle is ready to use! Here’s how to finish up:
- Let the griddle cool down: Allow the griddle to cool completely before storing it or using it for cooking.
- Regular maintenance: After each use, clean your griddle with a spatula or scraper to remove any food residue, then wipe it down with a thin layer of oil to maintain the seasoning. This will keep your griddle in top shape and prevent rust from forming.
Tips for Maintaining Your Blackstone Griddle
Seasoning your Blackstone griddle isn’t a one-time process—it’s something that needs to be maintained regularly. Here are a few tips to help you keep your griddle in the best possible condition:
- Apply oil after each use: After cooking, clean the griddle and apply a thin layer of oil to protect the surface and maintain the non-stick layer.
- Store your griddle properly: Always store your griddle in a dry place with a cover to protect it from moisture and the elements.
- Avoid soap: Once your griddle is seasoned, avoid using soap to clean it, as soap can strip away the seasoning.
- Re-season as needed: If you notice that the non-stick layer is starting to wear off or if rust begins to form, simply repeat the seasoning process to restore the protective coating.
Conclusion
Seasoning your Blackstone griddle is an essential step to ensure it performs at its best. A properly seasoned griddle will prevent rust, create a natural non-stick surface, and enhance the flavors of your meals. By following the steps outlined in this guide and regularly maintaining your griddle, you’ll enjoy years of delicious cooking with your Blackstone.
Now that your griddle is seasoned and ready, fire it up and start creating mouth-watering dishes that will impress your family and friends!